Follow these steps to submit a request for leave of absence in the Self-Service Portal.
You will find Request for leave under Employment status in the Self-Service Portal.

Create a new request for leave
Click + Create New at the bottom of the left side to register a new request for leave.

Enter the reason for the request for leave in step 1: Reason.

Click on Step 2 to proceed.
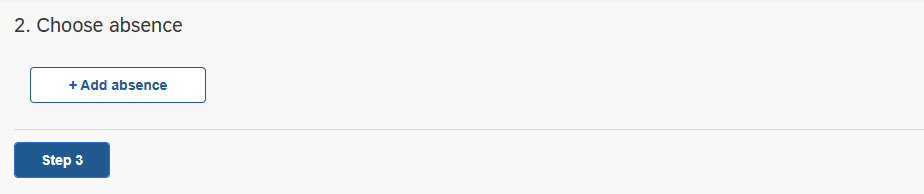
This is the step where you register the duration of your leave of absence. Start the registration by pressing the + Add abcence button under the title 2. Choose absence.
Choose the category for your leave. Then check whether you will be fully or partially absent from your position.
Then select the type from the available list for the choosen category.
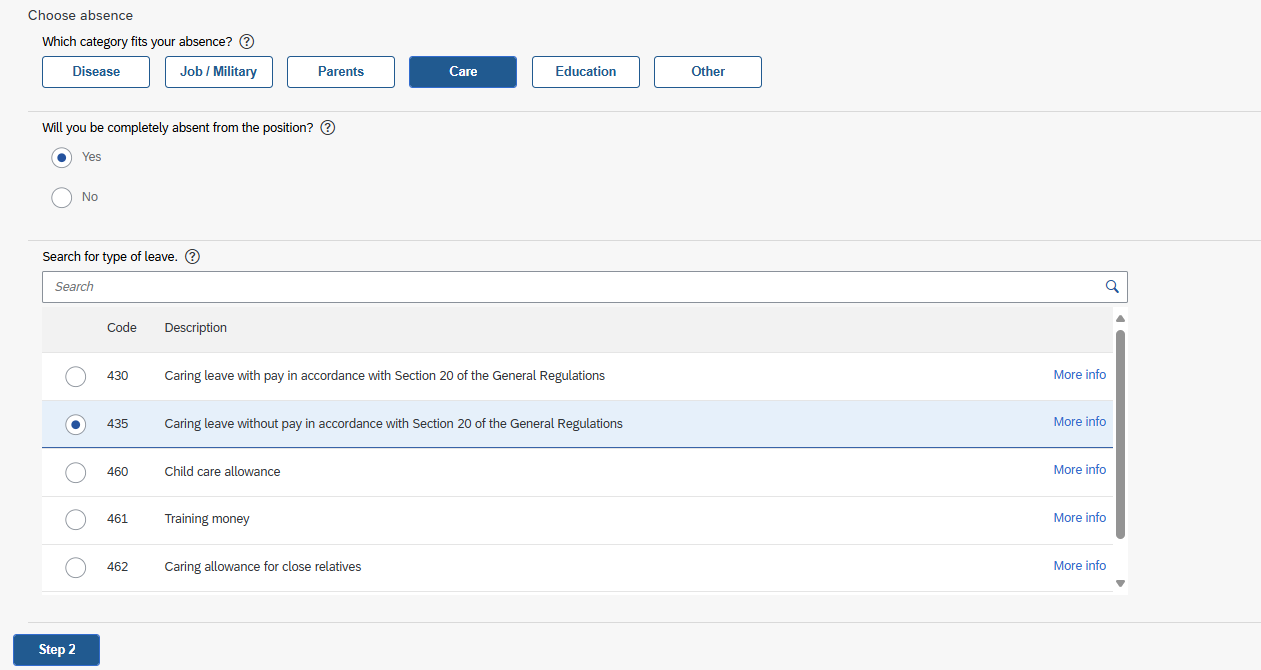
Press the Step 2 button again to register duration.
Fields for a start- and end date and a calendar will appear. You select the first date of the leave of absence by clicking a date in the calendar or enter the date directly in the field Start date.
Select the last date of the leave of absence by clicking another date in the calendar or enter the date directly in the field End date.
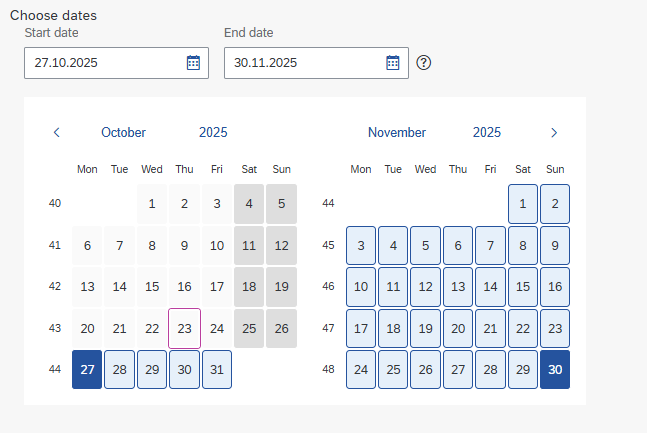
Click the green Add button in the bottom right corner to add the chosen periode. Use the + Add abcence button again to add another period to the same application.
When you have registered all the periods you want to apply for click Step 3 to proceed.
In step 3 you can give a describtion or general comments to the application.
This could be a description the type of leave you are requesting and the reason for it. If you will be partially present, specify your preferred work arrangement, such as the days you plan to work.
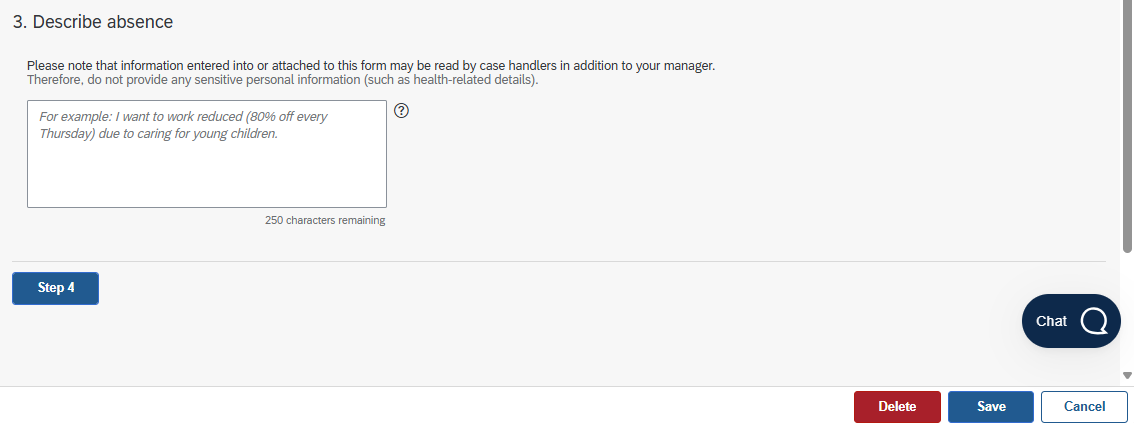
Click on Step 4 to proceed. You can also click Save to save the draft.
If you have documentation from NAV or other relevant documentation you would like to attach, you can add them here. Documents from NAV must be uploaded in PDF format.
Uploading attachments is optional and not required to submit your form.
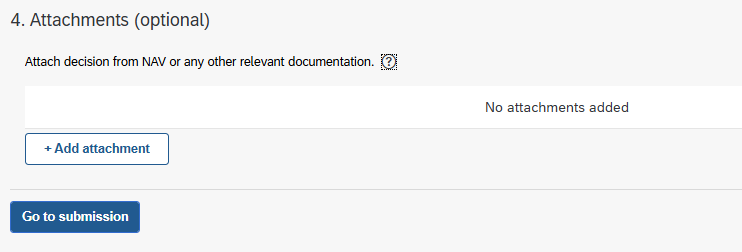
When the leave application is completed, click on Go to submission to submit it.
Review your application and click Send to send the leave of absence. You can also choose to edit or delete the application.

Rejected request for leave of absence
You will receive an email notification if your request for leave of absence is returned by the approver.
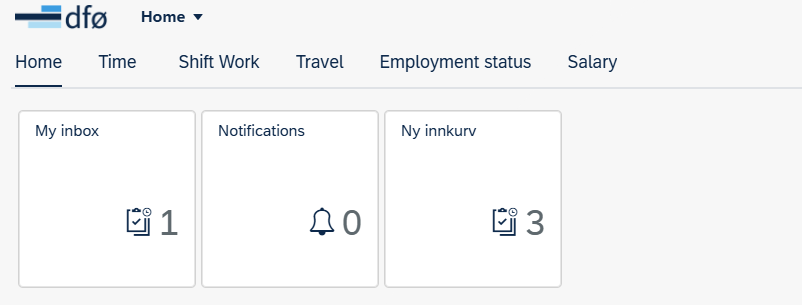
Returned tasks is processed in New Inbox (Ny innkurv).
Click the task for more information. Here you can also read the return message from the approver.
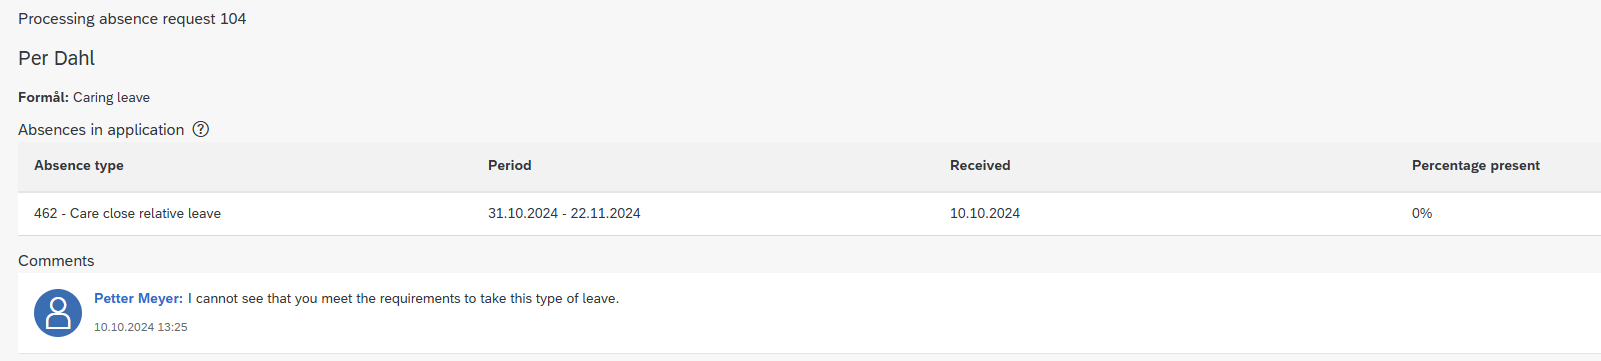
Click Open application to edit or delete the leave of absence.
The last return message from the approver will appear as a note. You will then enter directly into the leave application to be corrected. Click Cancel on the note, and then choose whether you want to edit or delete the leave application.
Contact
Do you have questions about the content of this page?
Contact our customer service centre
- lonn [at] dfo.no (lonn[at]dfo[dot]no)
- (+47) 40 63 40 21